Manage Teachers in edjufy
General
First, select the System Administration module.
The System Administration module is divided into different menu items (School Classes, Courses, Teachers, etc.). Please select the menu item Teachers & Administrative Users.
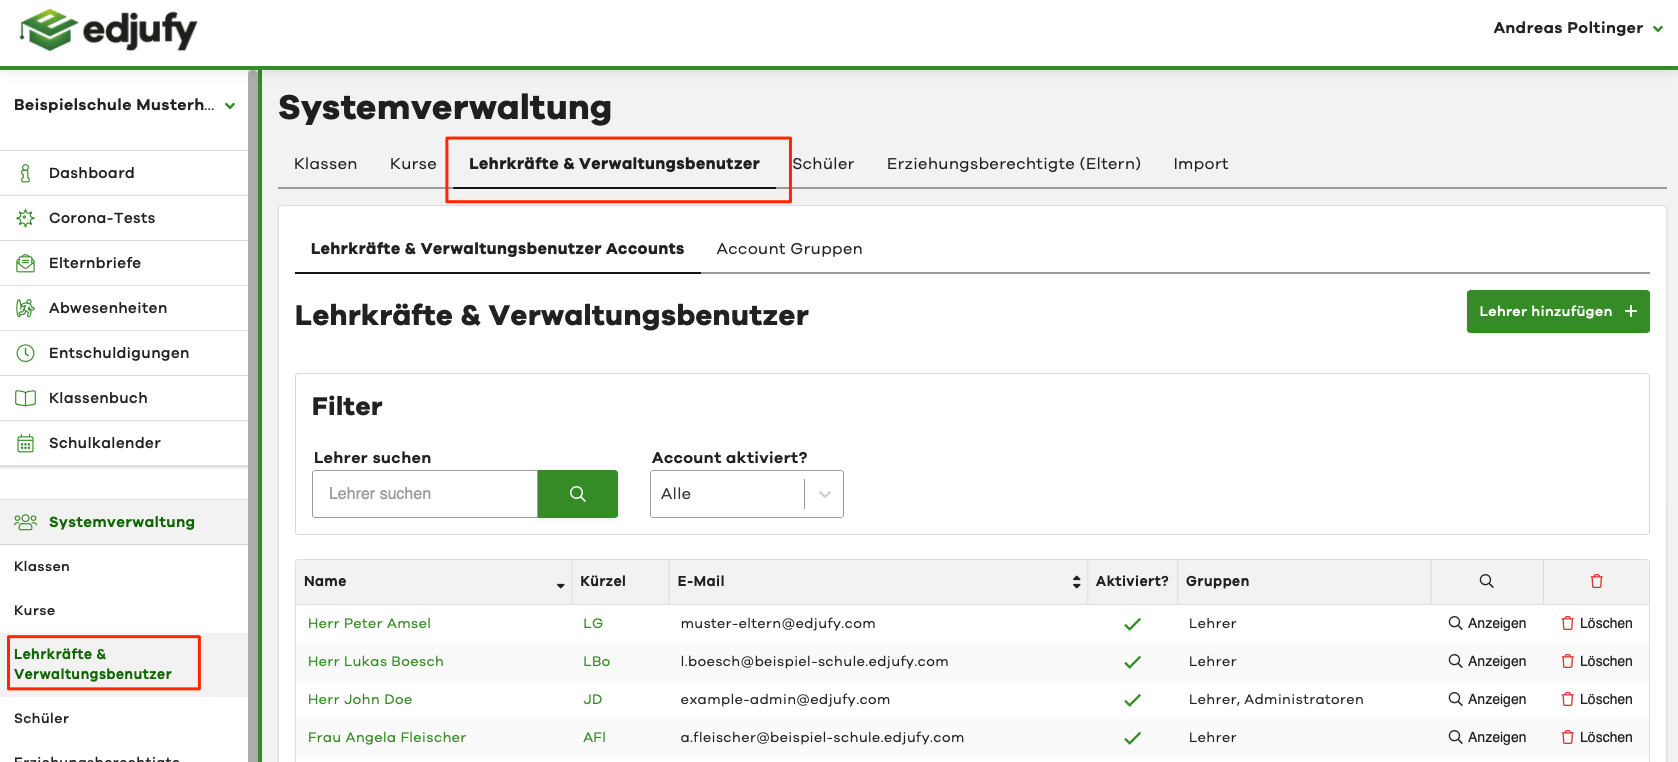
The menu item Teachers & Administrative Users is divided into two sub-items:
- Teachers & Administrative User Accounts
- Account Groups
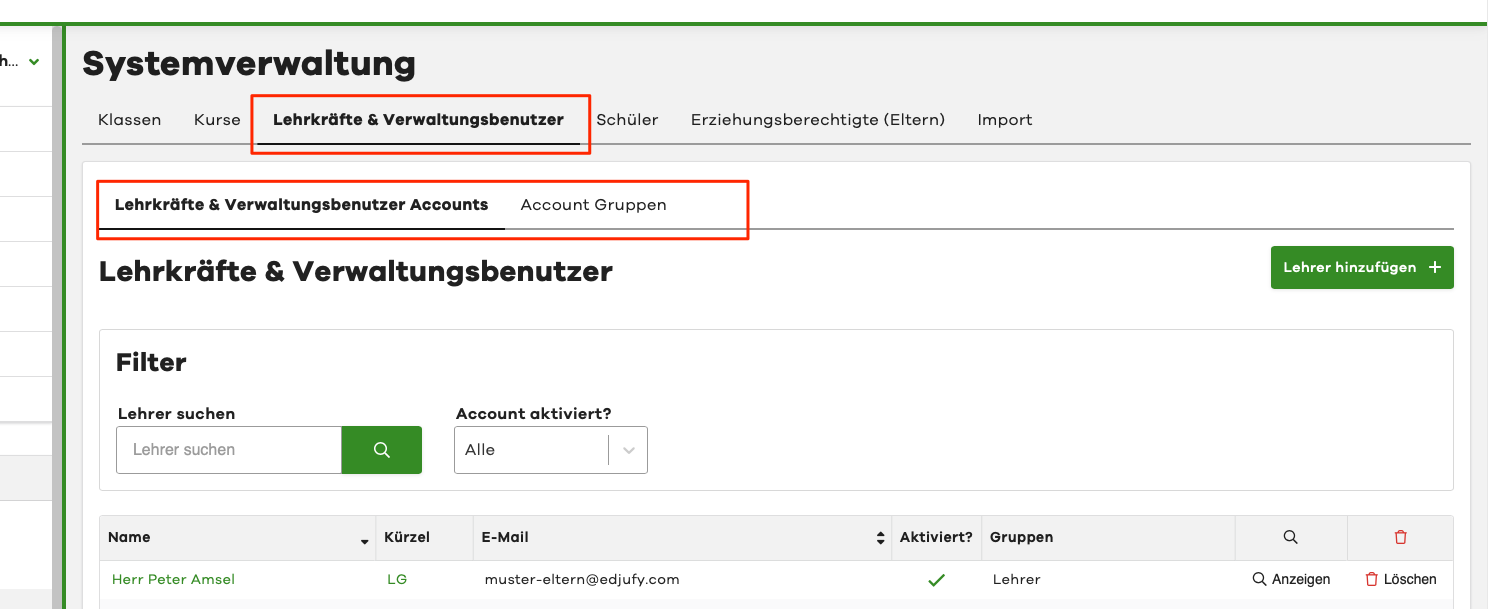
Teachers & Administrative User Accounts
Overview
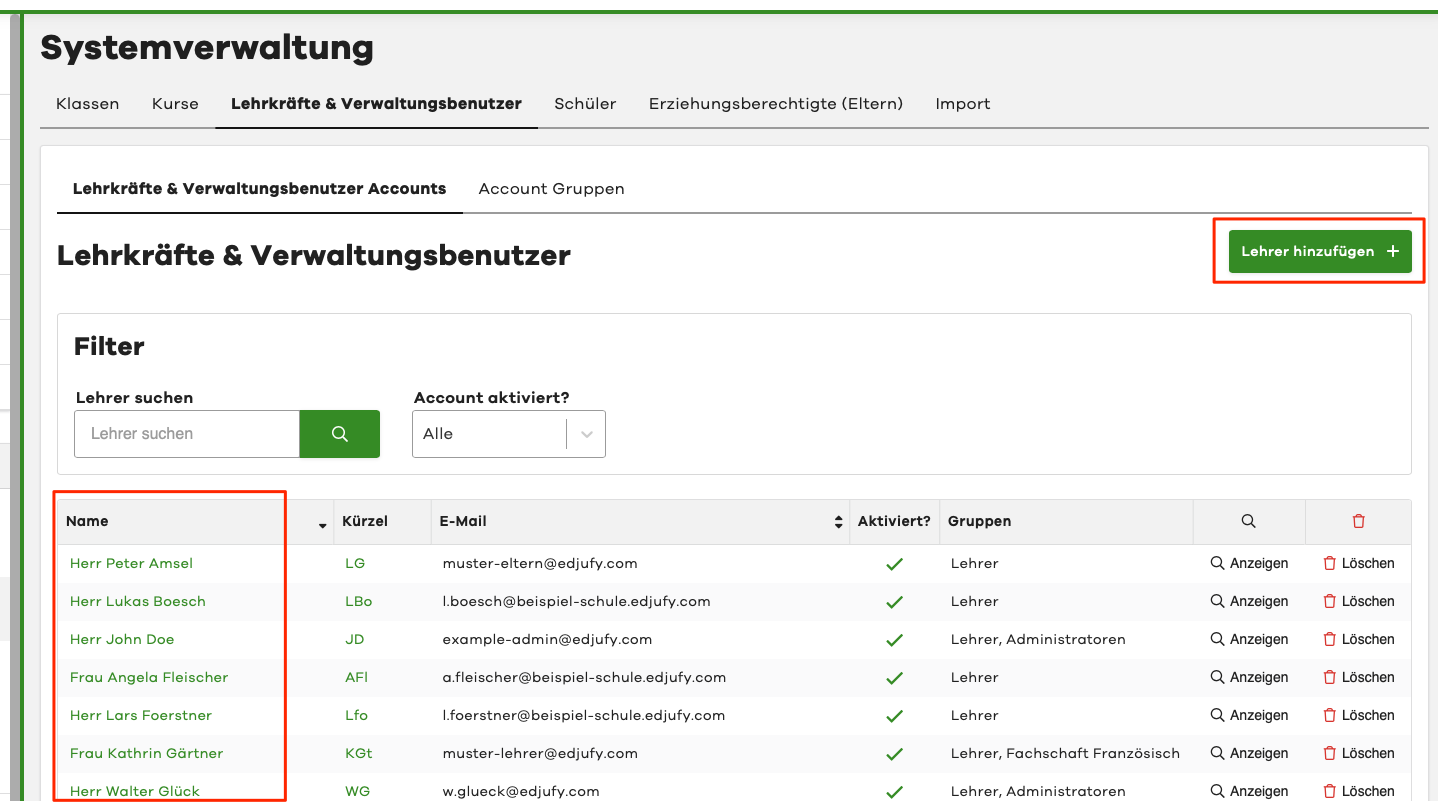
Please click on the menu item Teachers & Administrative User Accounts in the System Administration. In the sub-item of the same name Teachers & Administrative User Accounts, you can view all previously created teacher accounts. You can view the details of an existing account by clicking on the desired name. And with the Add Teacher + button, you can manually create additional teachers.
Create Teacher
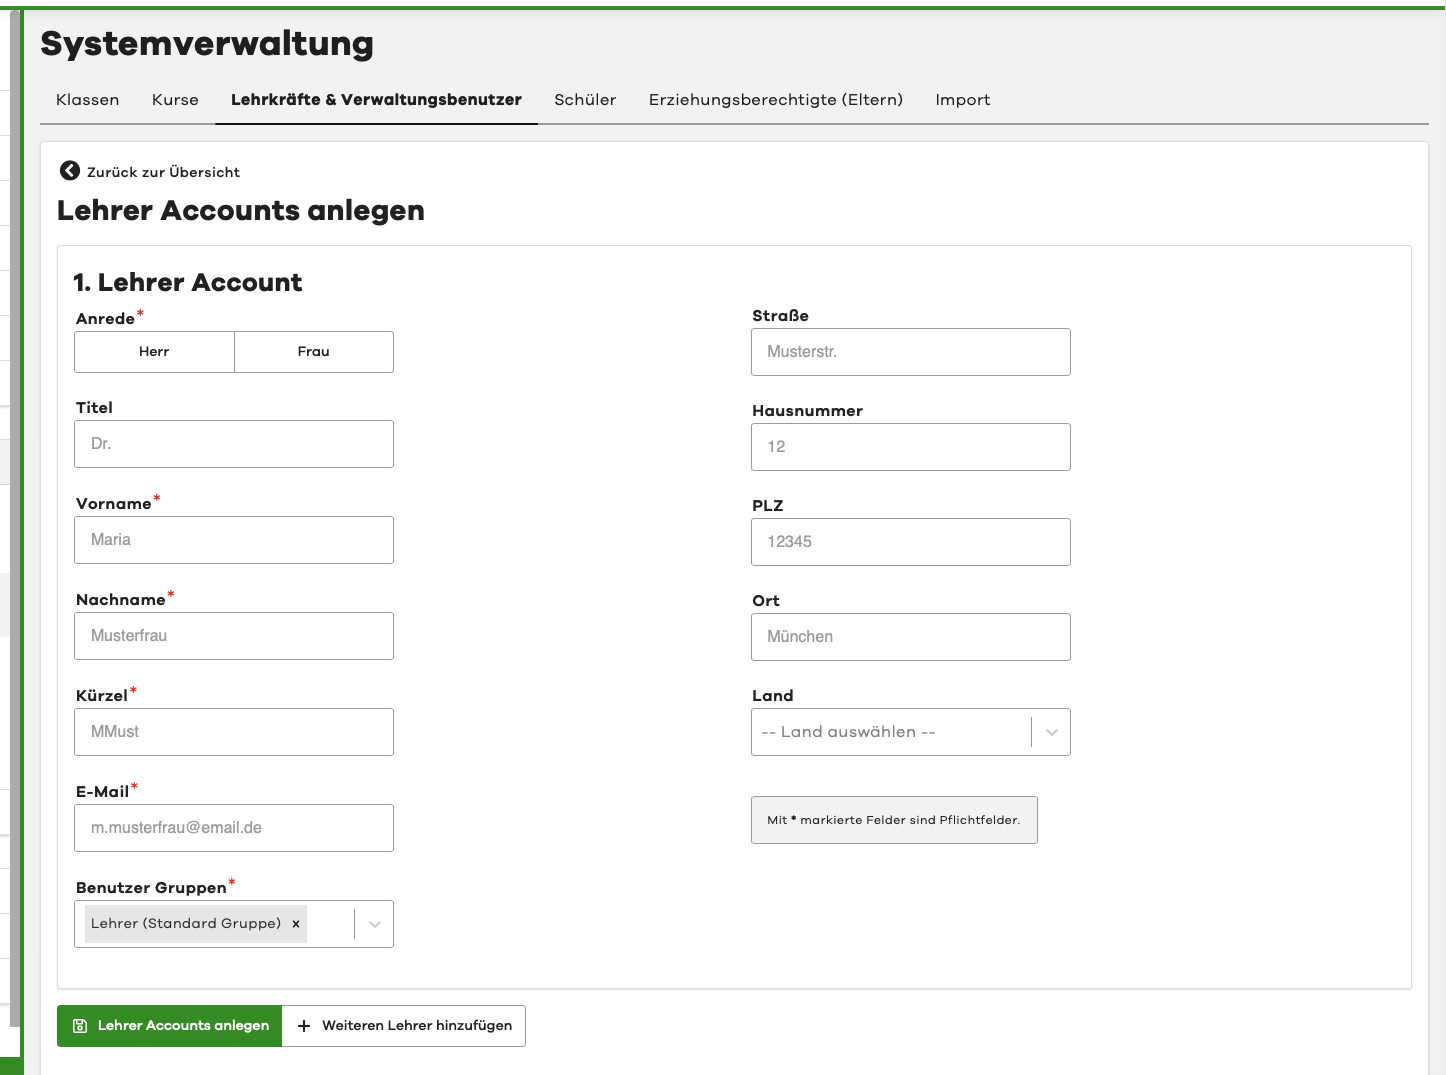
If you clicked on Add Teacher in the previous view, the corresponding dialog opens.
- Please enter the required master data
- Please enter an email address that your colleague uses professionally / for the school (e.g. max.muster@exampleschool.com)
- Select a desired user group. You can manage permissions, for example, via the user group.
With the + Add Another Teacher button, you can add another teacher, and with Create Teacher Accounts, you save your entries.
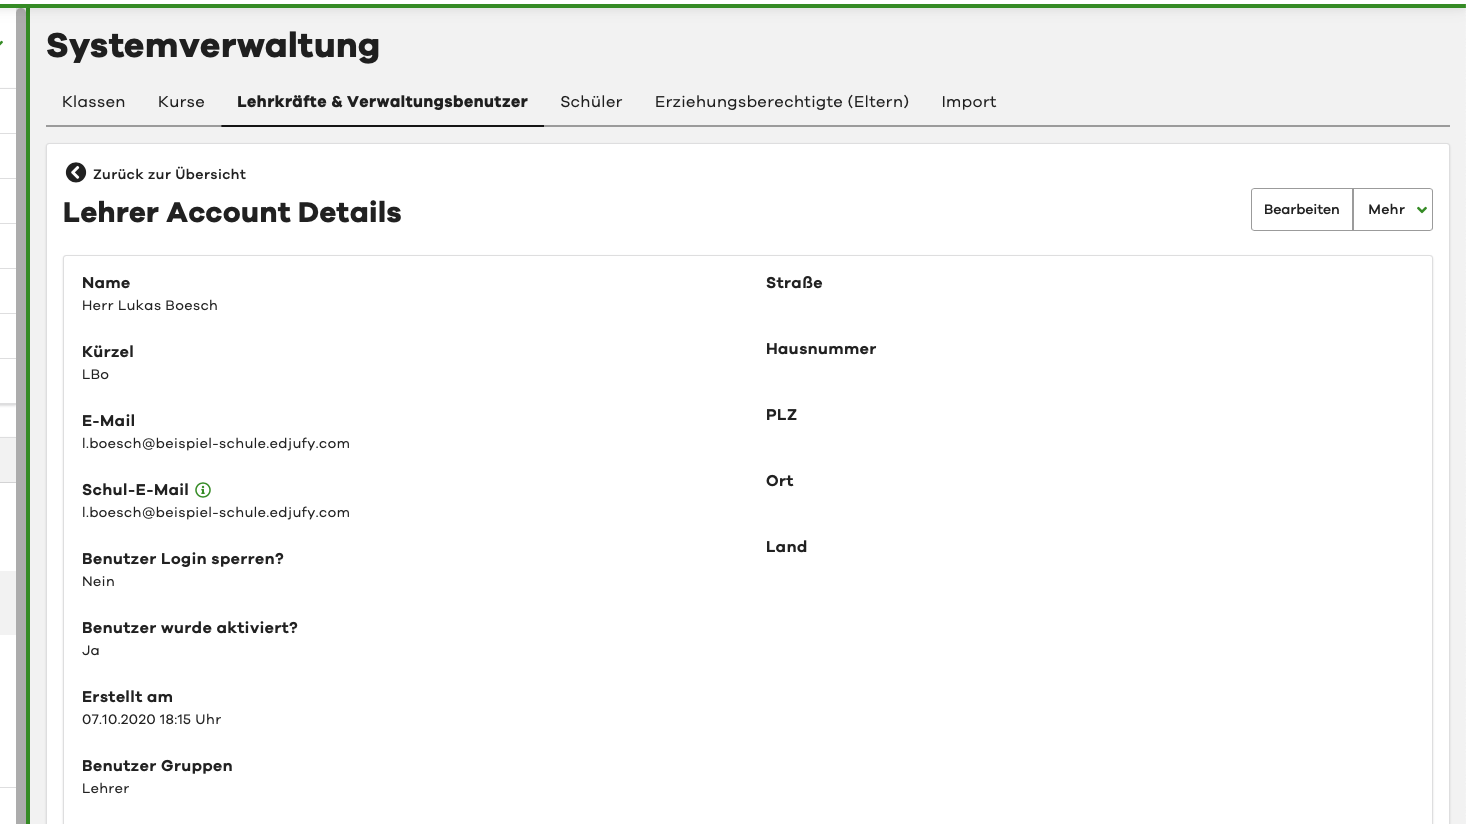
View / Edit Teacher
To view or edit a teacher, please click on the name of the desired teacher in the teacher overview as mentioned at the beginning. In the following view, you will see some metadata of the teacher. To edit a teacher, simply click on the Edit button in the upper right corner.
Account Groups
Overview
Please click on Account Groups in the teacher overview.
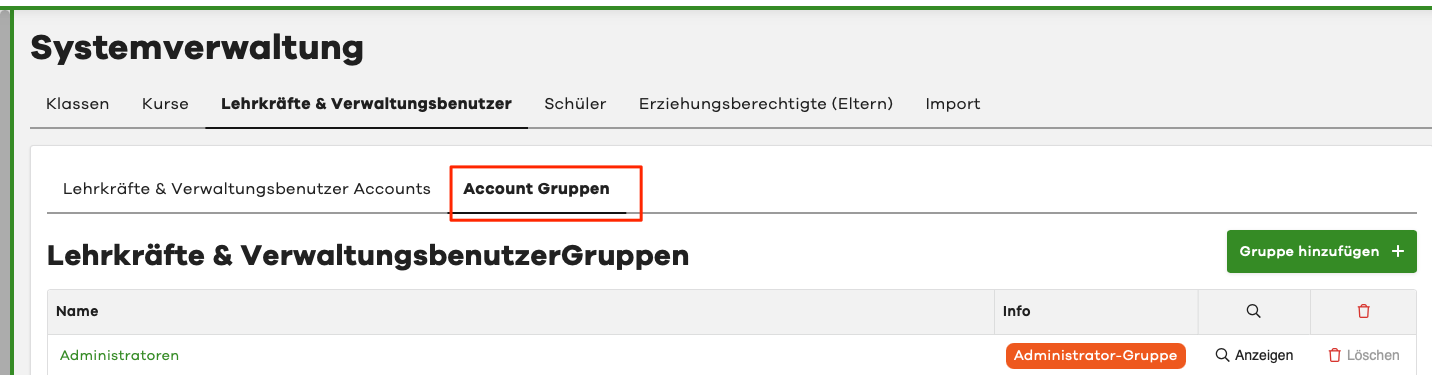
In the following view, you will see all previously created account groups. To edit an existing group, simply click on the green-highlighted name of the group to be edited. You can conveniently create new groups using the green Add Group button.

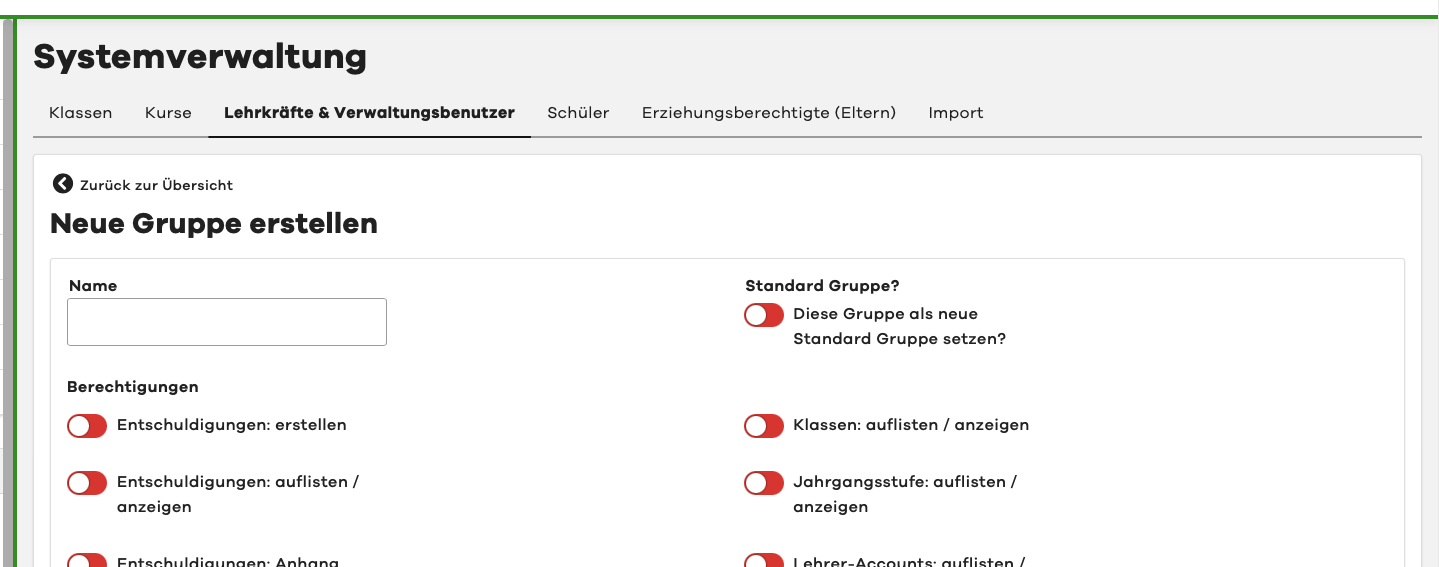
Create Account Group
If you clicked on Add Group in the previous view, the corresponding dialog opens. Please enter the desired name of the group you want to create here.
You can assign various permissions to users in the group using the individual sliders. The more open restriction always applies.
Example: The user Max Muster is in the groups "Mathematics Department", "Physics Department" and "Extended School Management". The two department groups do not have permission to delete excuses, but the "Extended School Management" group does. As a result, Mr. Muster has the permission to delete excuses.
View / Edit Account Group
To view or edit a group, please click on the name of the desired account group as mentioned at the beginning. In the following view, you will see all permissions and members of this group. To edit a group, simply click on the Edit button in the upper right corner. To add members to the group, please click on the Add Account to Group + button below the permissions section.
